Initial setup
Setup with the Valmido Companion App
The VALMIDO device is personalised with the help of the Valmido Companion App that can be installed on a selected companion device (e.g., PC, Mac, iPhone or Android phone). The menus are straightforward to follow and the personalistion should take few minutes only.
Reset
The Reset operation deletes all data including PIN, fingerprints and other credentials from the VALMIDO device. This is usaually done when the user receives the device or when the user wants to give the device to another person for their use.
Set PIN
Your VALMIDO device must be awaked, by pushing the VALMIDO device’s right button. On the Valmido device screen the message “Ready” appears. This means that the VALMIDO device is ready to process transactions.
If the user has not yet personalized their PIN, the following message will be displayed:
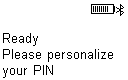
PIN is not yet personalized
The user should connect to the VALMIDO device with the Valmido Companion App and select the Set PIN menu. The PIN is entered by the user and the operation is validated.
Enroll fingers
Once the PIN is personalized, the VALMIDO device will display as follows. This warns the user to complete the personalization step as it is still incomplete.
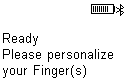
Fingers not yet personalized
The user should connect to the VALMIDO device with the Valmido Companion App and select the Manage Fingerprints menu. Then the user should follow the instructions that are displayed on the VALMIDO device screen. This is a sequence of putting their finger on the fingerprint sensor and taking it off until the fingerprint is captured by the VALMIDO device.
As soon as at least one finger is registered, this message disappears and “Ready” stands now alone.
Alternative setup means
It is recommended to use the Valmido Companion App but if you don’t have the application on hand you can also use the following alternatives:
using the Chrome browser for Mac & Linux (throuh ‘Settings’ -> ‘Privacy and security’ -> ‘Security’ -> ‘Manage security keys’)
or, on Windows, using native menus (through ‘Settings’ -> ‘Accounts’ -> ‘Security key’ -> ‘Manage’)
Once the VALMIDO device is paired with your Windows PC go to the menu “Settings”:
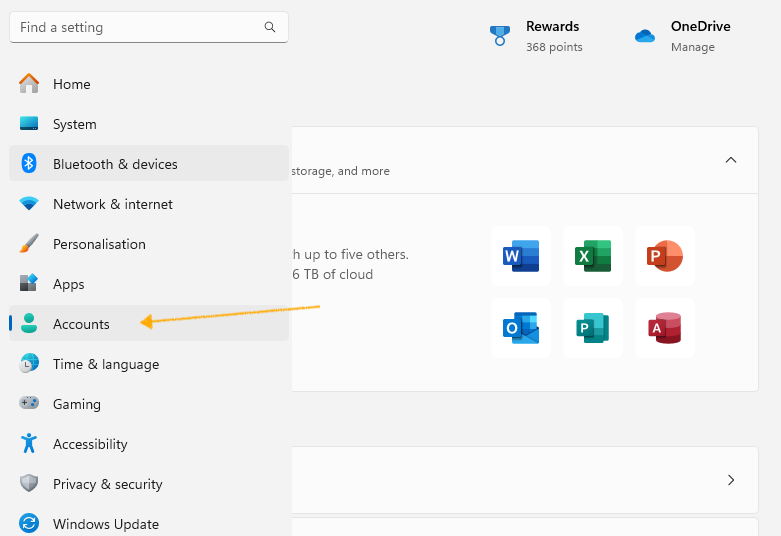
Choose Accounts
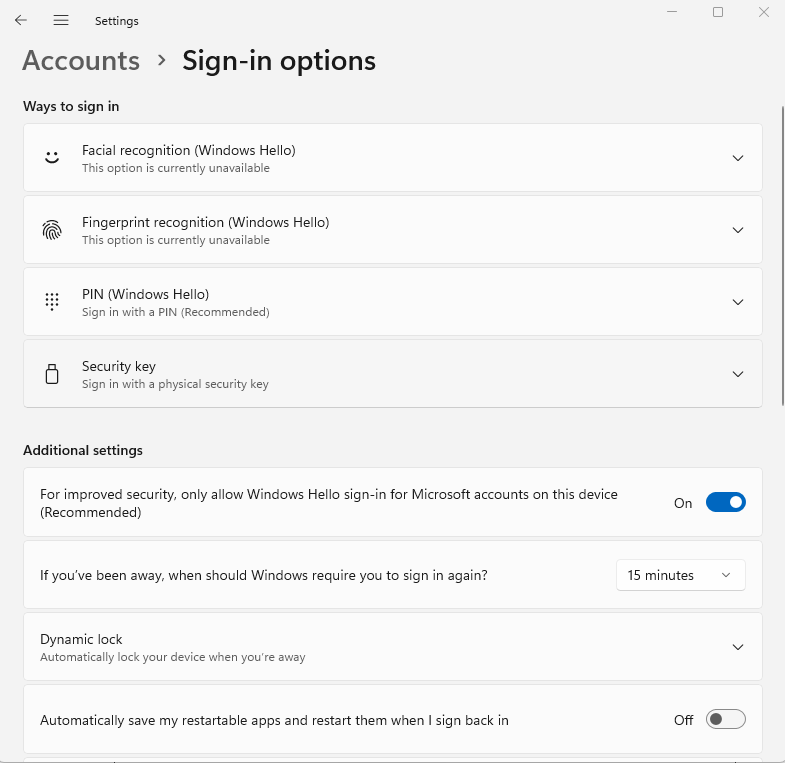
Choose “Sign in options”
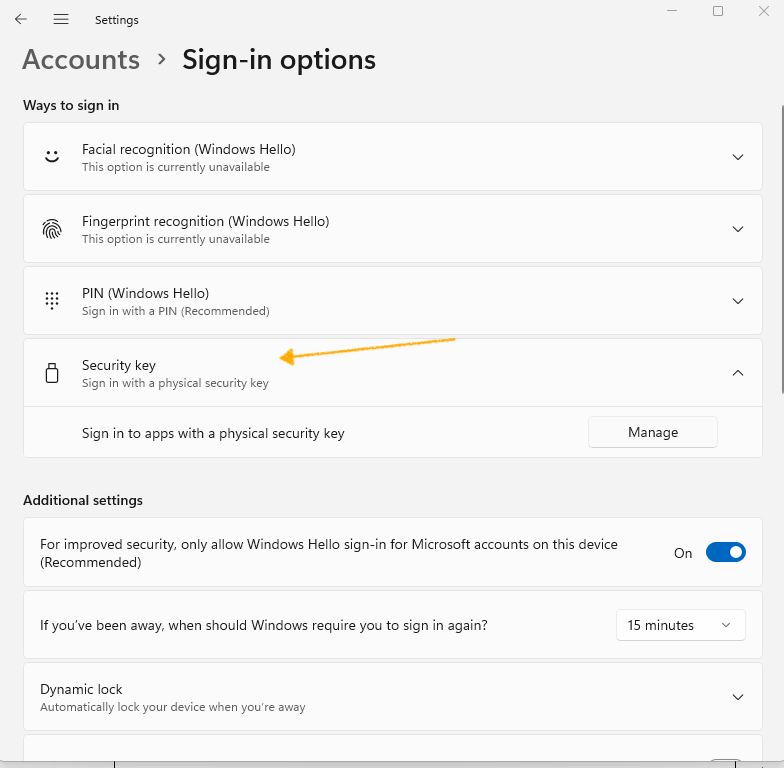
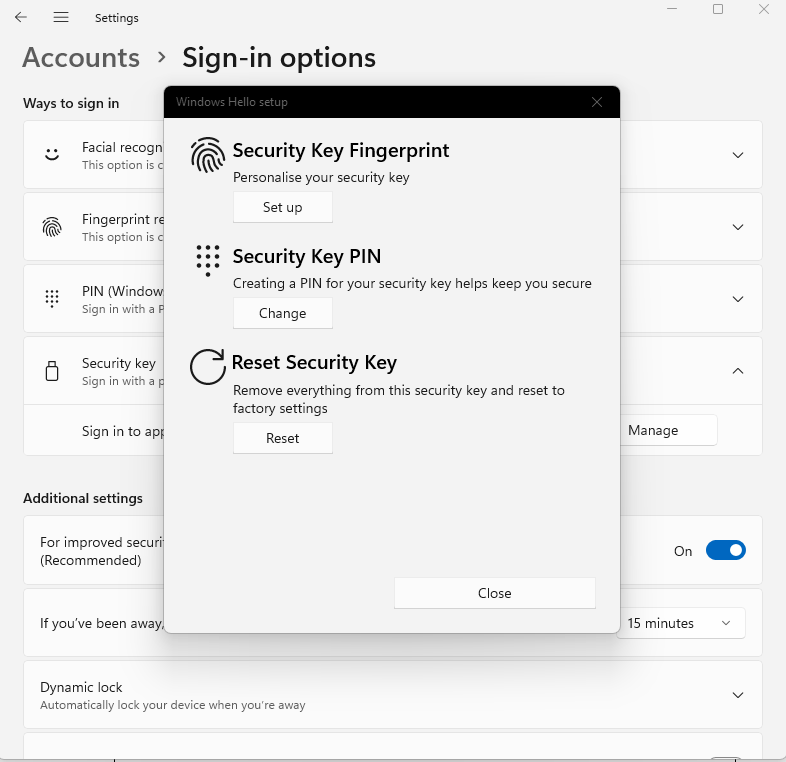
Click on “Security key” and then the “Manage” button that appears.
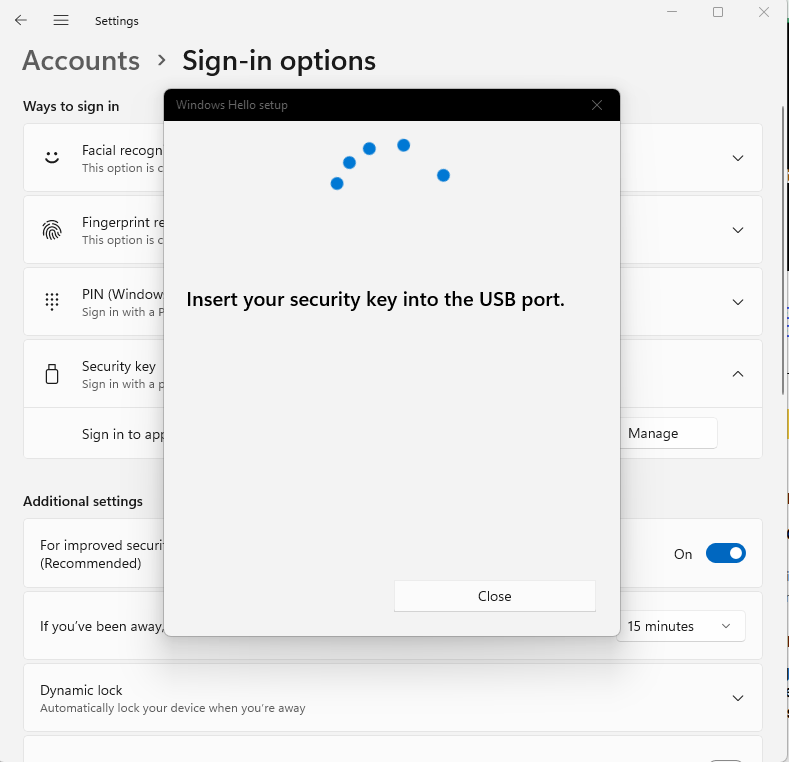
The Windows user interface will display “Insert your security into the USB port” but you only need to turn on your VALMIDO device since pairing with this PC was done before.
After the VALMIDO device is recognized by the PC you can choose the actions to do.
You can either Reset your VALMIDO device or Set PIN or add a fingerprint to your VALMIDO device.
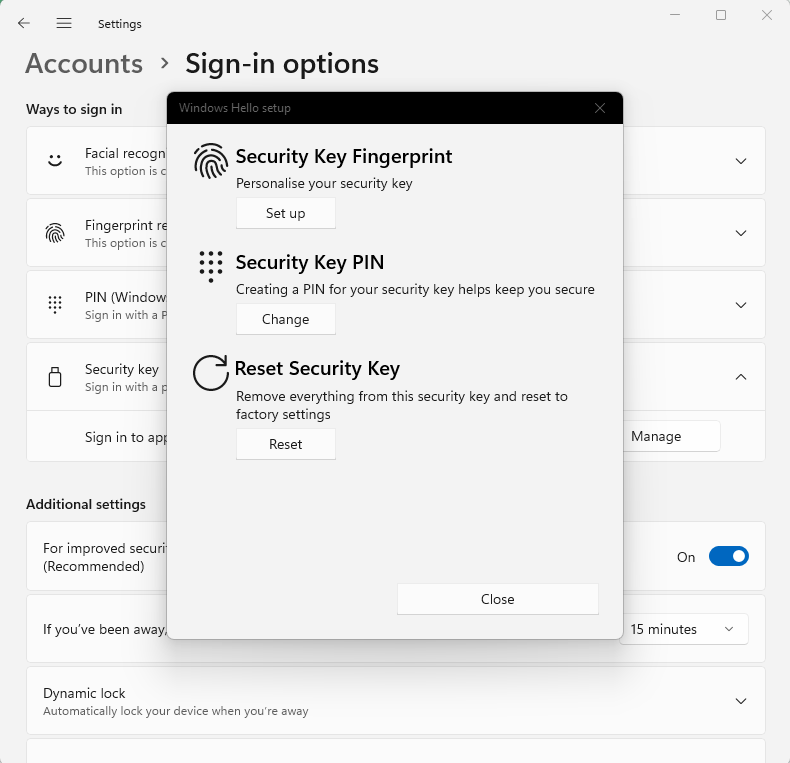
Start with Reset in order to delete the VALMIDO device content if it was used before or upon first usage.
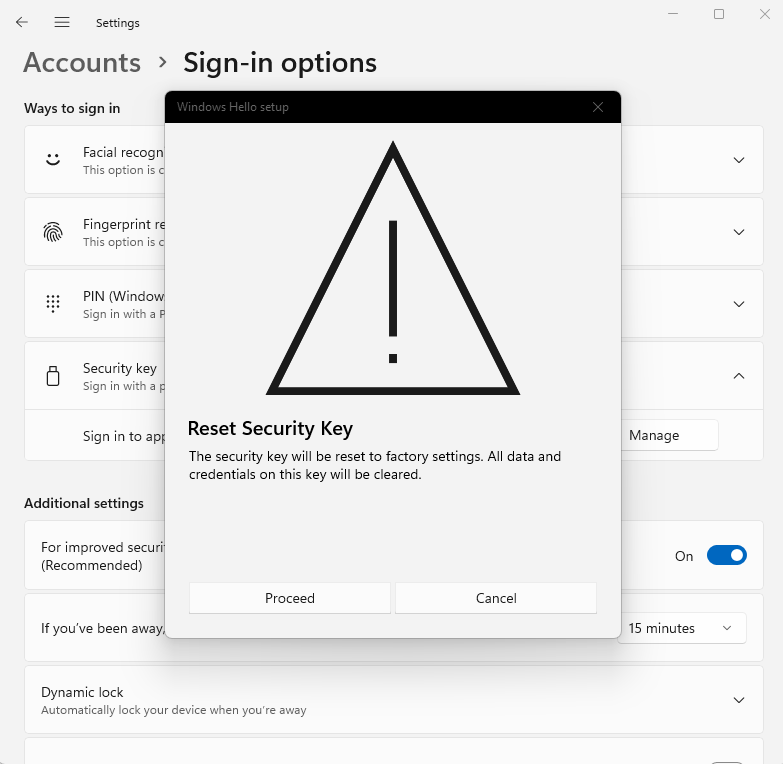
Continue by Clicking Proceed
The VALMIDO device will display:
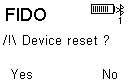
Device reset
Select the VALMIDO device button located below “Yes” (left button).
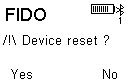
The new Display is now
PIN not personalized
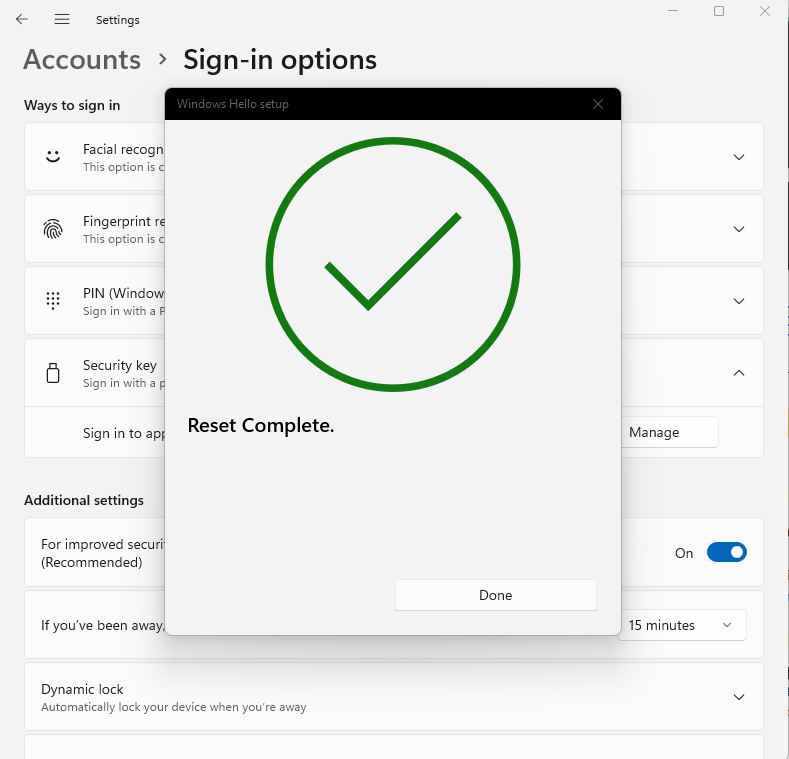
You are back to the previous screen, but you know that your FIDO security key is now Reset.
Continue by defining the PIN by Clicking the “Security Key PIN” option. You cannot enroll your fingerprints before you define a PIN.
Enter a numeric PIN only, which can be of minimum length of 4 and maximum length of 64 digits. It is recommended to define a PIN of 6 to 8 digits which seems to be a good balance in terms of security and usability.
If the operation was successful the VALMIDO device now displays:
Fingers not personalized
Operation is completed and your PIN is set.
You can now proceed with the Fingerprint(s) enrolment.
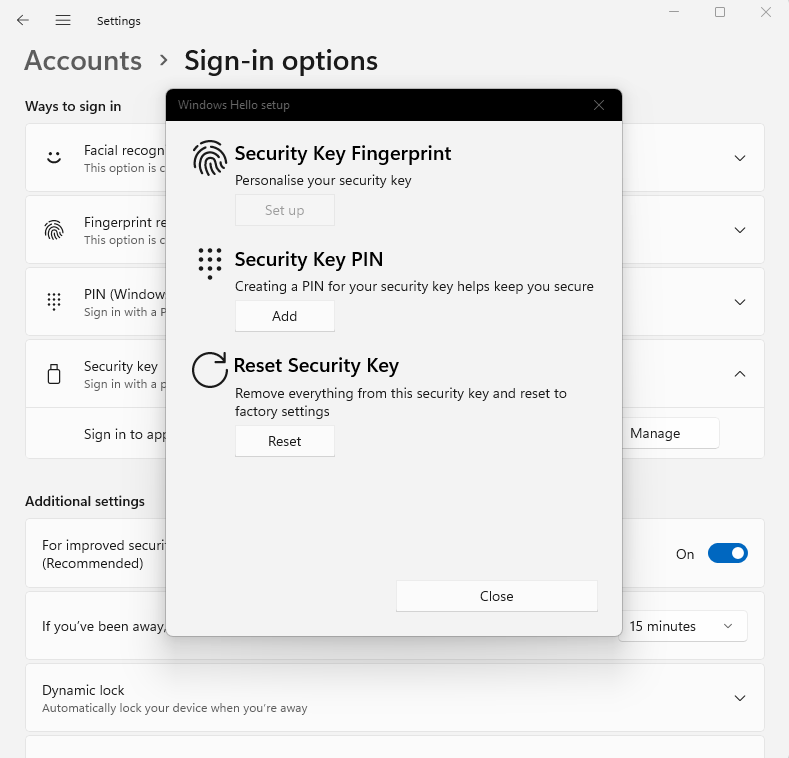
Select “Security Key Fingerprint“
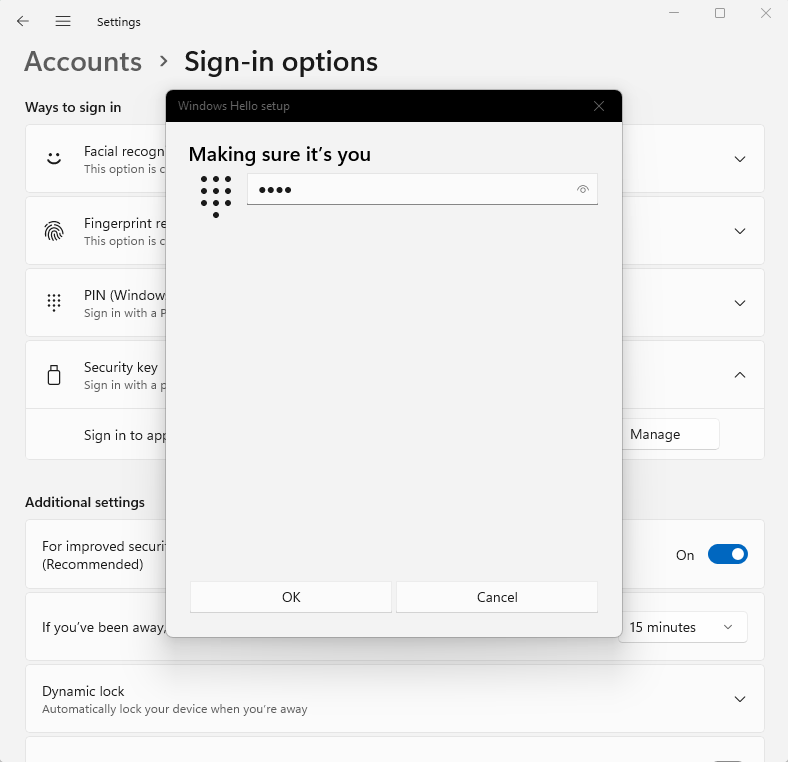
Enter your PIN and press OK
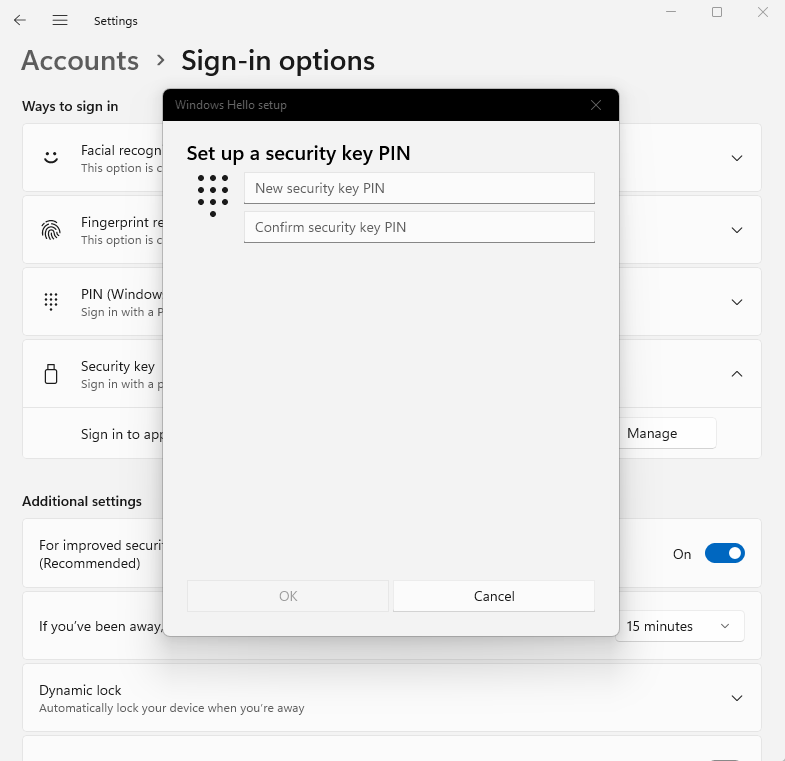
The Windows user interface displays:
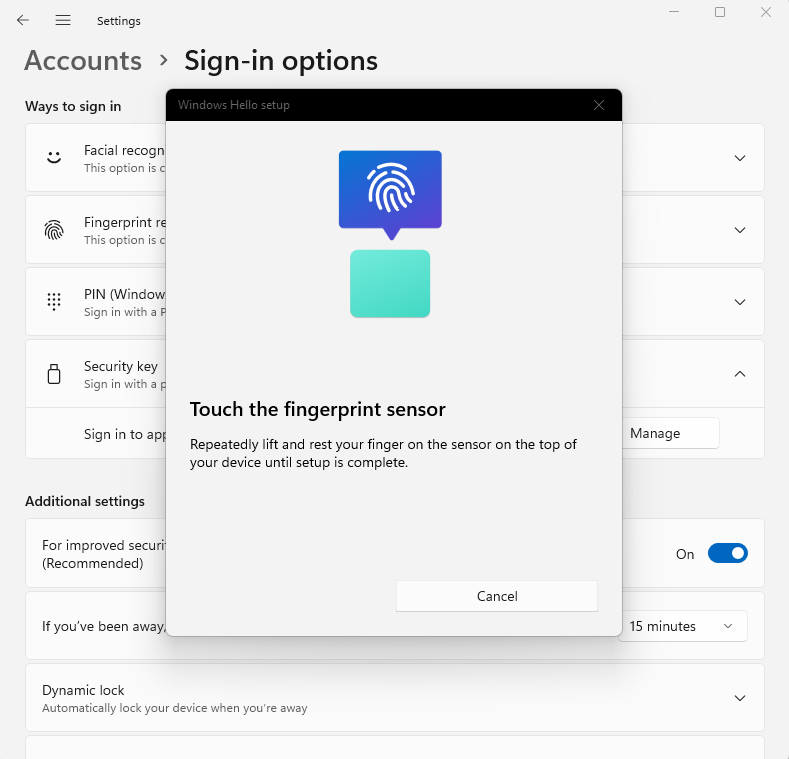
and the VALMIDO device screen requests to “touch” the sensor:
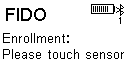
Start enrolment
The VALMIDO device’s screen requests to remove the finger and then to “touch again” the sensor (it may repeat several times). During this procedure you should mainly follow the instructions on the the VALMIDO device’s screen:
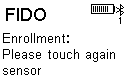
Continue enrolment
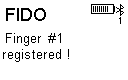
Enrolment completed
The same indications are also displayed on the Windows user interface until the procedure is completed.
Repeat the operation of touching the VALMIDO device fingerprint sensor until success is indicated.
This Fingerprint is registered with success!
This procedure can be repeated for additional fingers.
Note: In some cases, the attempt can terminate on an Error when some conditions are not allowing to capture enough data to complete the finger’s mapping, due to following root causes:
Finger is presented several times in the exact same position
Finger is too dry or humid or not clean enough
Fingerprints is not enough detectable on the selected finger
In this case you should start the same procedure again.
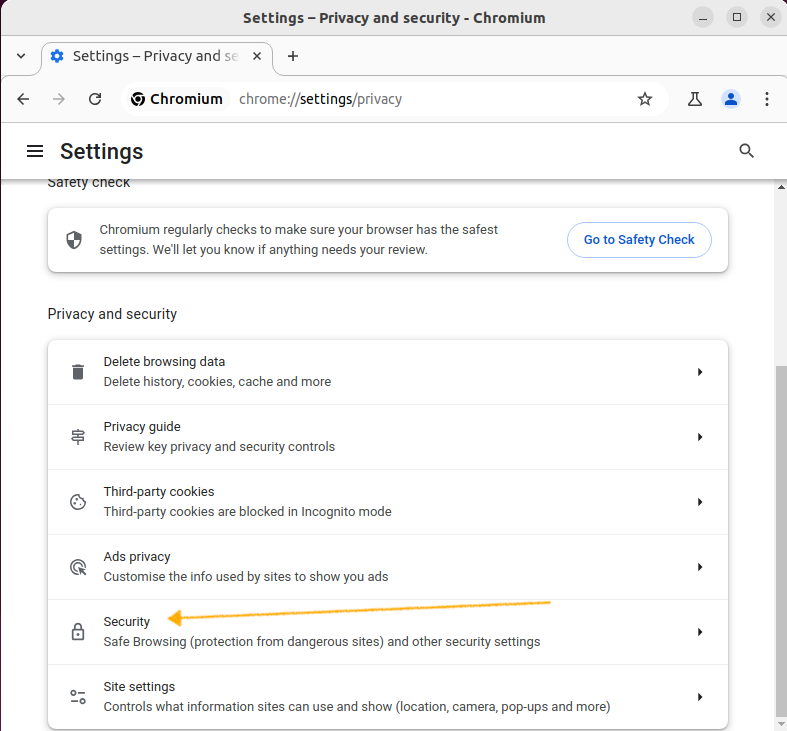
Once the VALMIDO device is paired with your Mac or Linux you will need to use the Chrome (or Chromium) browser in order to personalize it (for VALMIDO device Reset, set PIN, and enroll Fingerprints).
Go to the menu “Settings”
“Privacy and security”
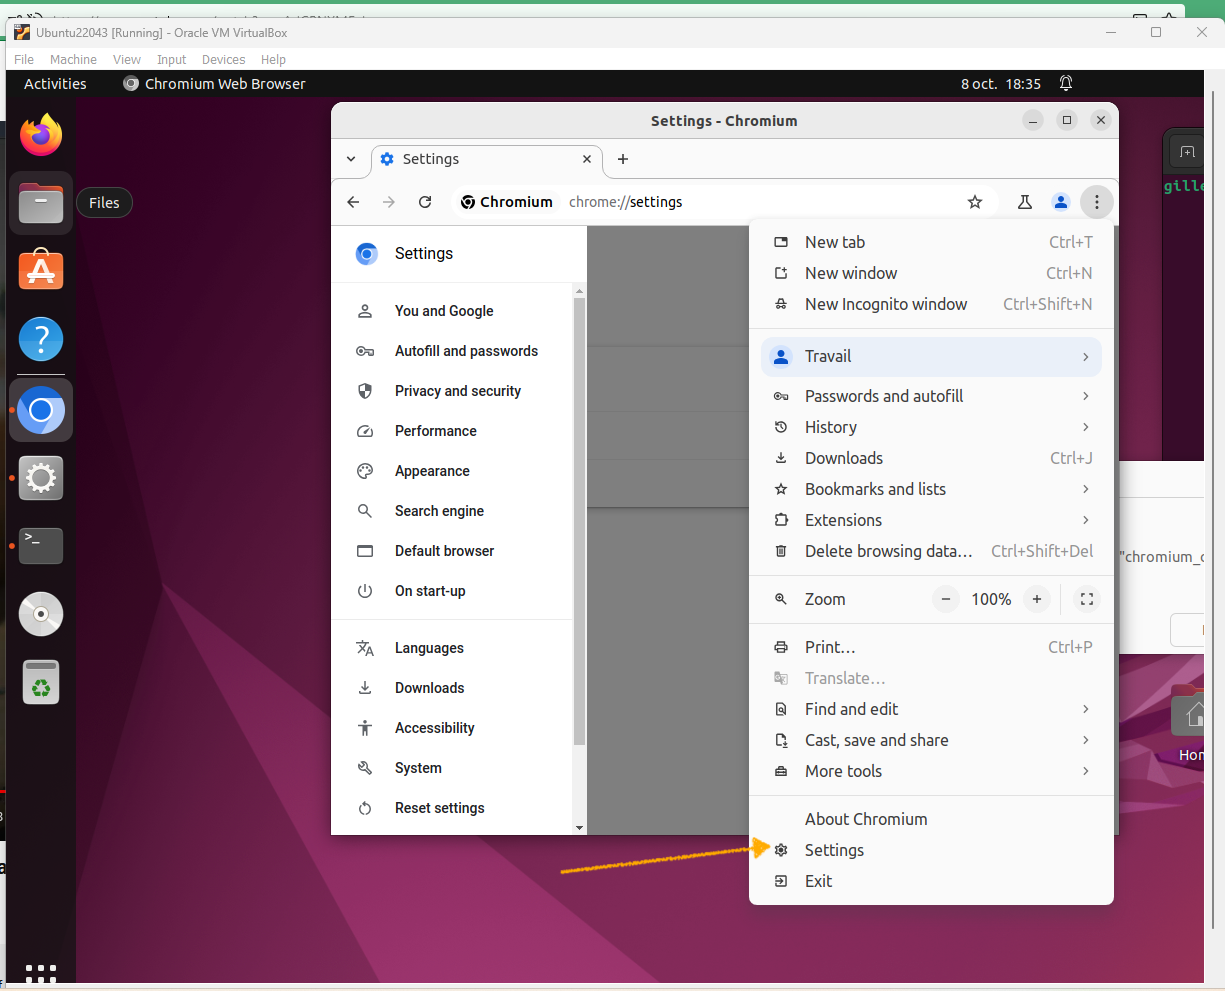
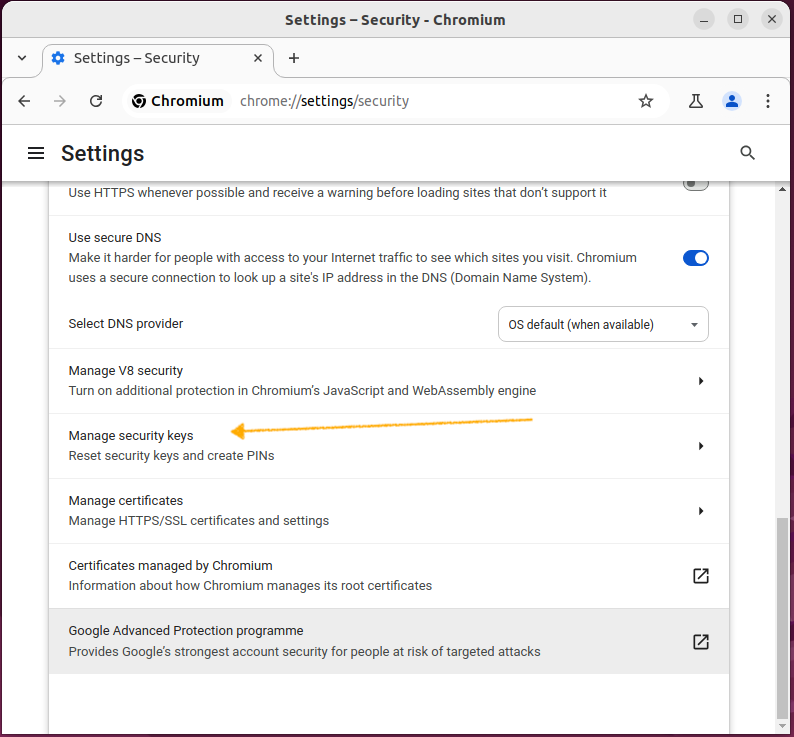
“Security”
“Manage security keys”
Then you’ll be presented with all possibilities as shown in the picture below.
You can either Reset your VALMIDO device or Set PIN or add a fingerprint to your VALMIDO device.
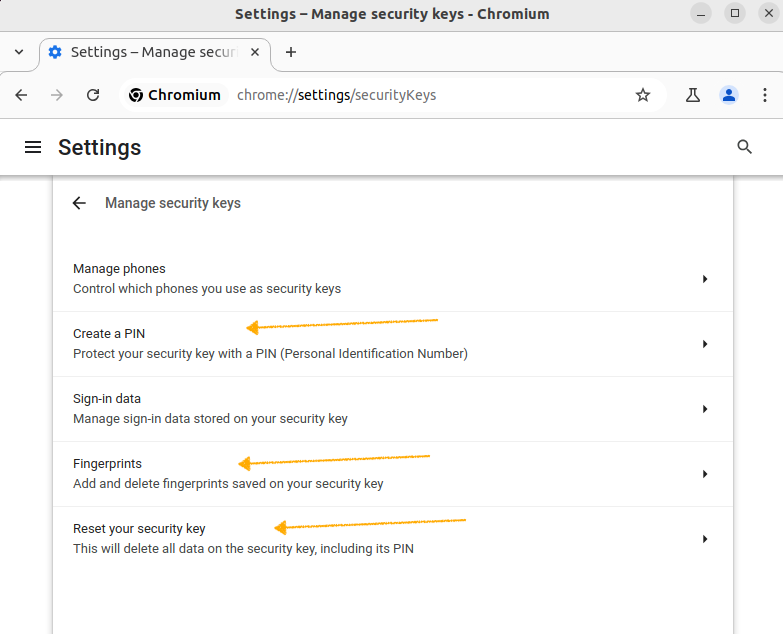
Start with Reset in order to delete the VALMIDO device content, if it was used before, or upon first usage.
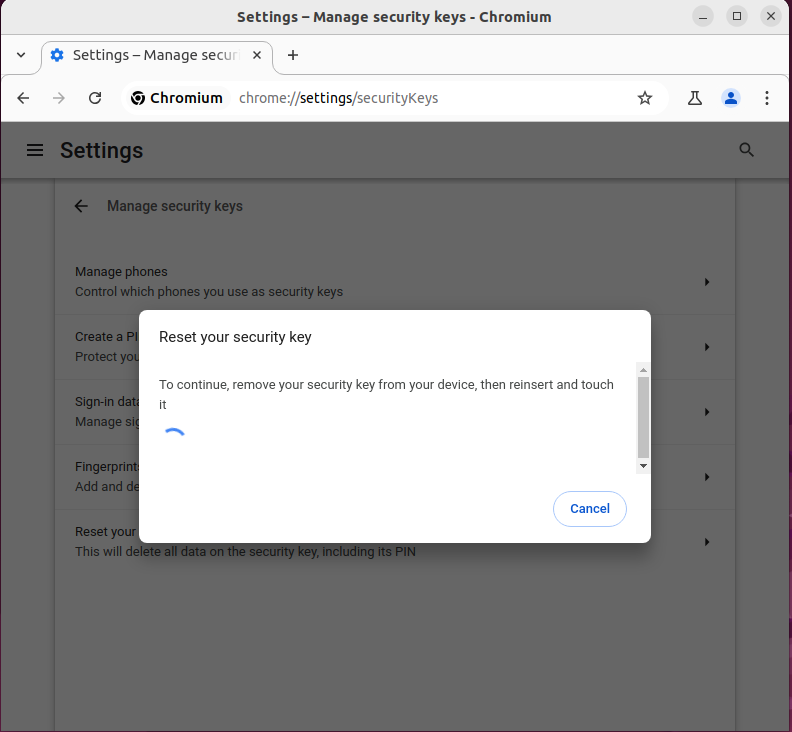
Note: Since the VALMIDO device communicates over Bluetooth you can ignore the above message and just follow the instructions on the Valmido device’s screen.
If you selected the Reset operation the VALMIDO device will display:
Device reset
Select the VALMIDO device Button located below “Yes” (left button).
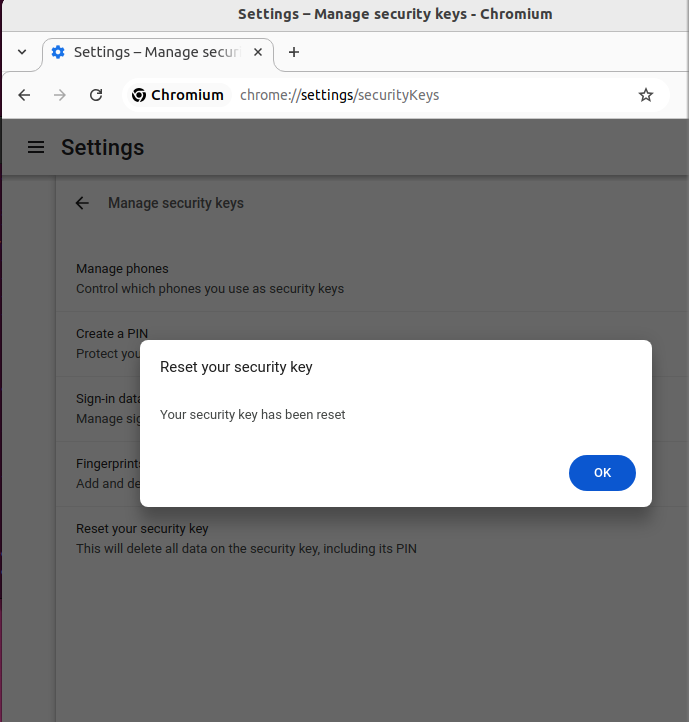
The new Display is now
PIN not personalized
You are back to the previous screen, but you know that your FIDO security key is now Reset.
Continue by defining the PIN by Clicking the “Set PIN” option.
Enter a numeric PIN only, which can be of minimum length of 4 and maximum length of 64 digits. It is recommended to define a PIN of 6 to 8 digits which seems to be a good balance in terms of security and usability.
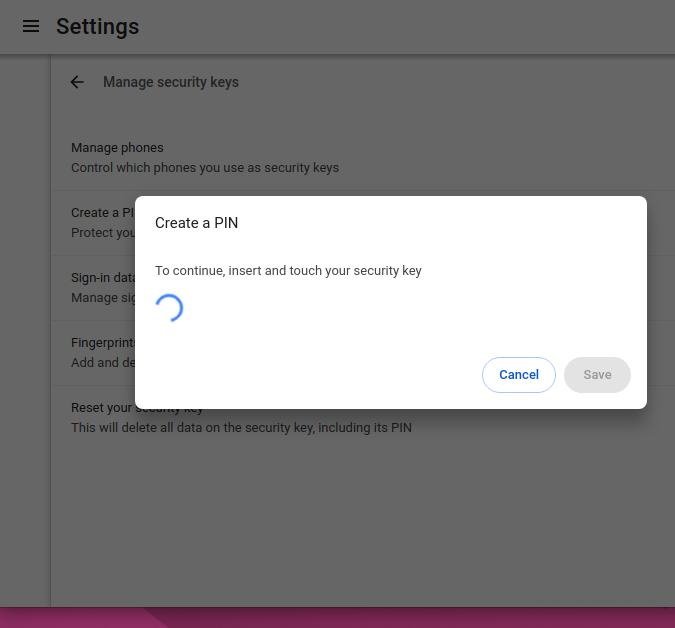
You cannot skip the PIN setting and do immediately the fingerprint otherwise the following will be displayed:
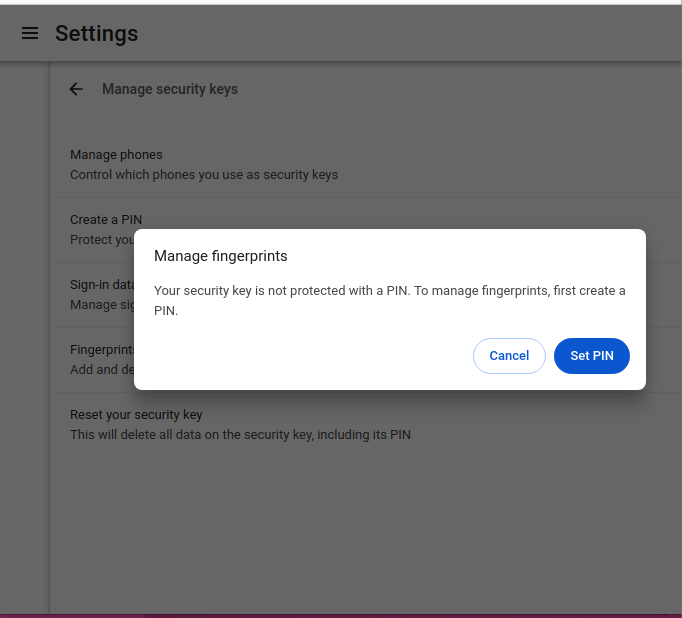
You are obliged to go back to the PIN management prior to the Fingerprints management!
Back to PIN management.
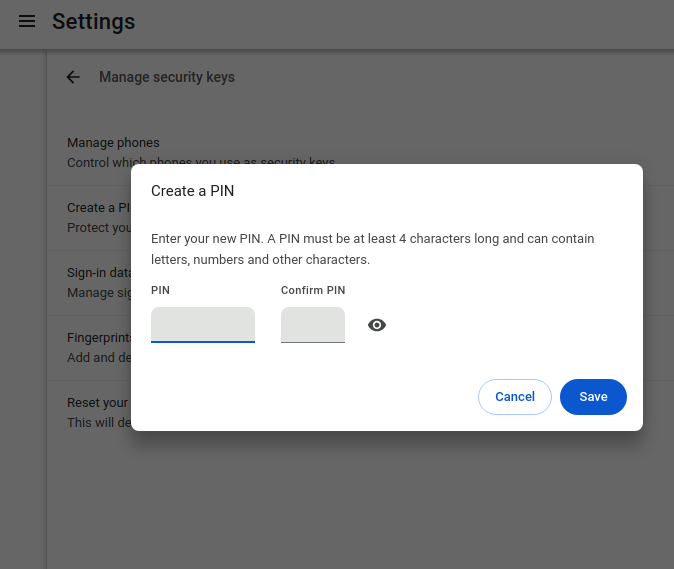
Enter your PIN and confirm it again in the indicated field. A message will appear to indicate if successful.
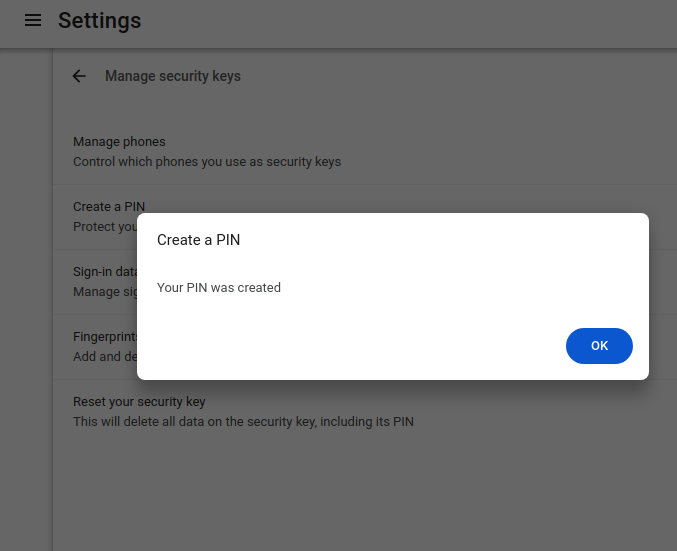
The VALMIDO device now displays:
Fingers not personalized
Operation is completed. Your PIN is set.
You can now proceed with the Fingerprint(s) registration.
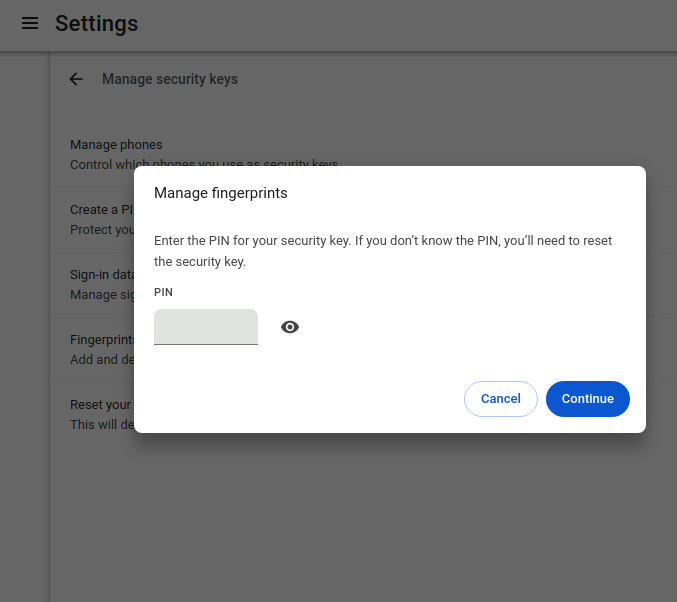
Enter your PIN and then press the “Continue” button.
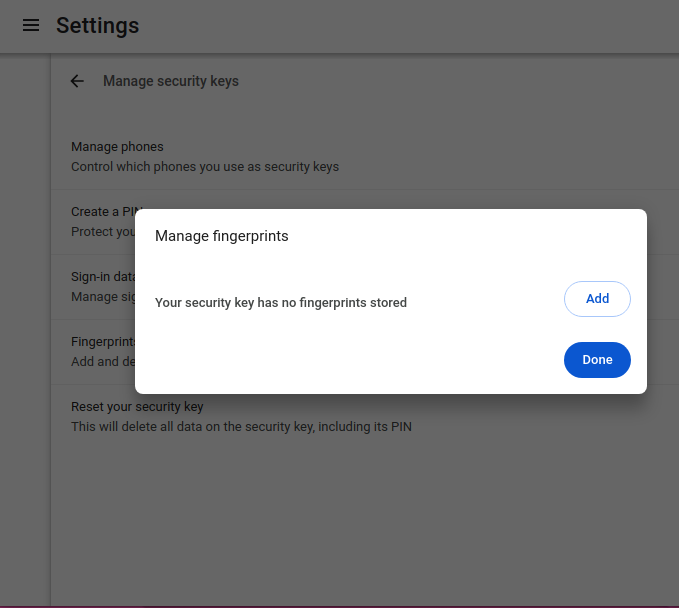
Click on “Add” button to manage Fingerprint(s) after the PIN.
The Chrome browser displays:
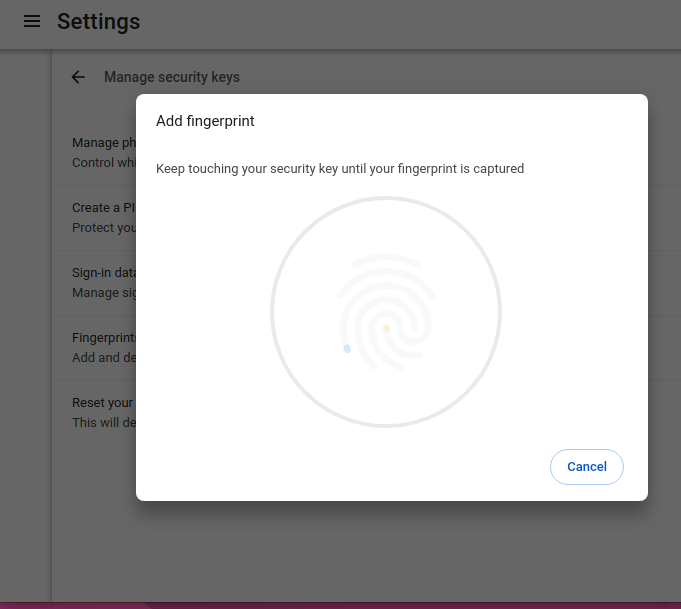
and the VALMIDO device screen requests to “touch” the sensor:
Start enrolment
The VALMIDO device’s screen requests to remove the finger and then to “touch again” the sensor (it may repeat several times). During this procedure you should mainly follow the instructions on the the VALMIDO device’s screen:
Continue enrolment
Enrolment completed
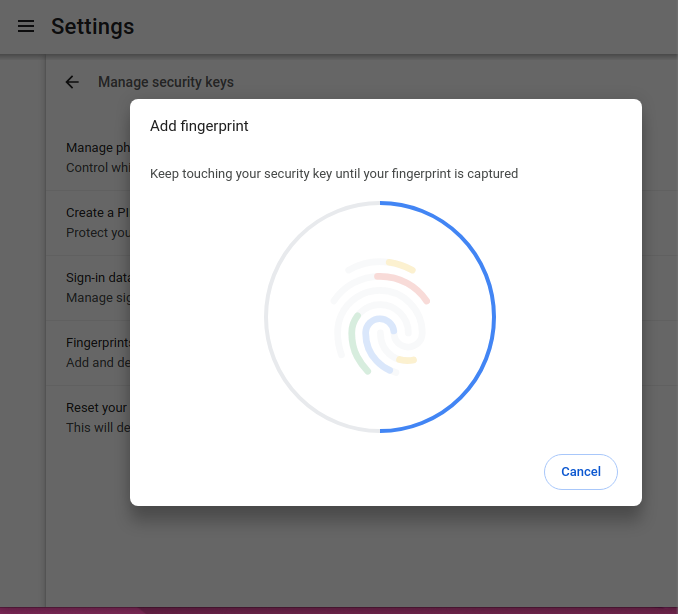
Following a second touch (or more) on the sensor, the browser displays:
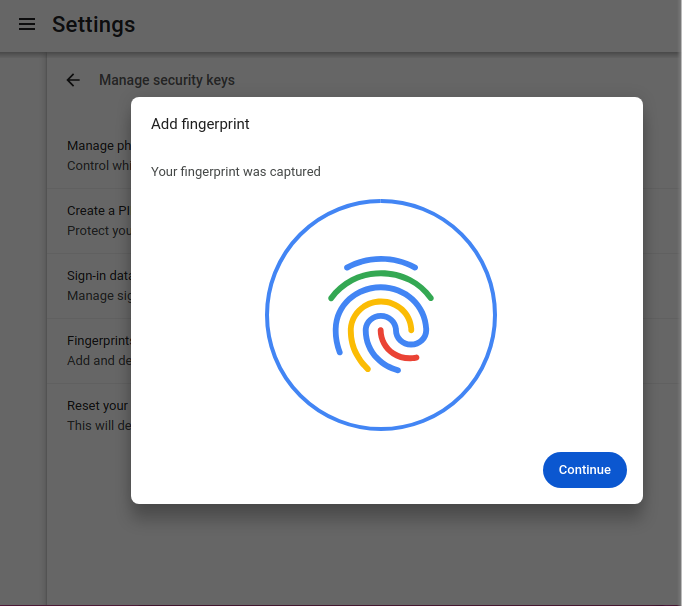
This Fingerprint is registered with success!
Request for naming the Registered Finger
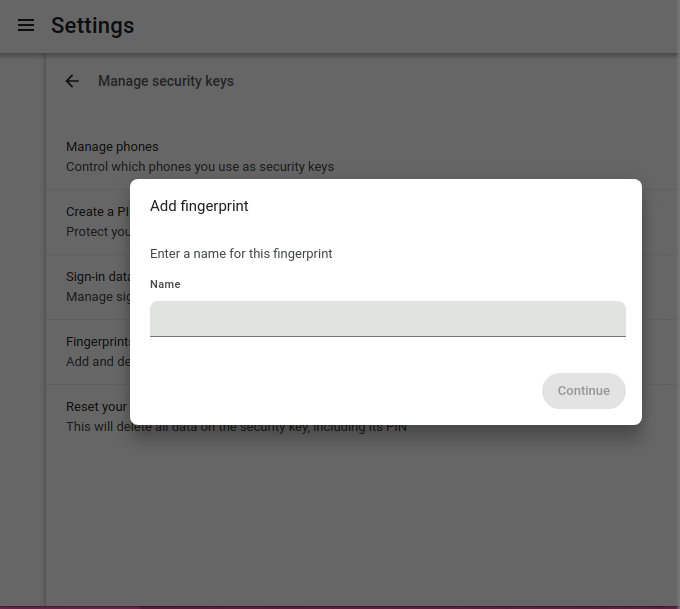
We choose the name “Finger1”
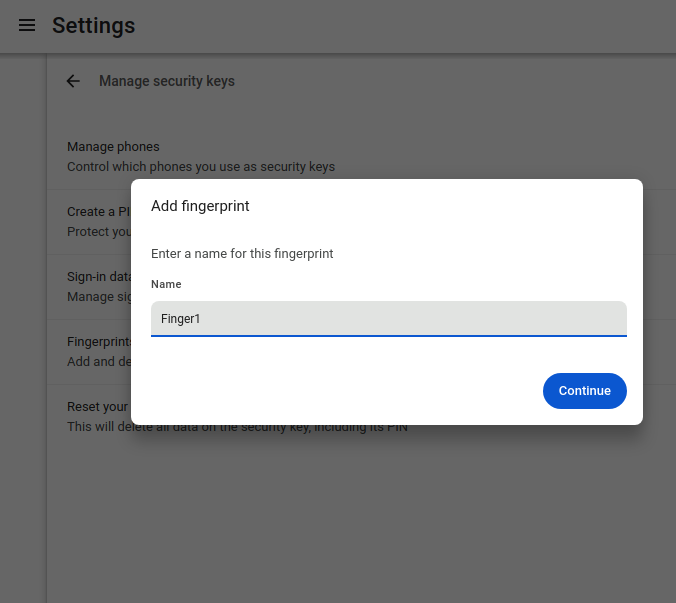
Confirmation for the previous “Finger1” enrolment, and the possibility for another finger enrolment
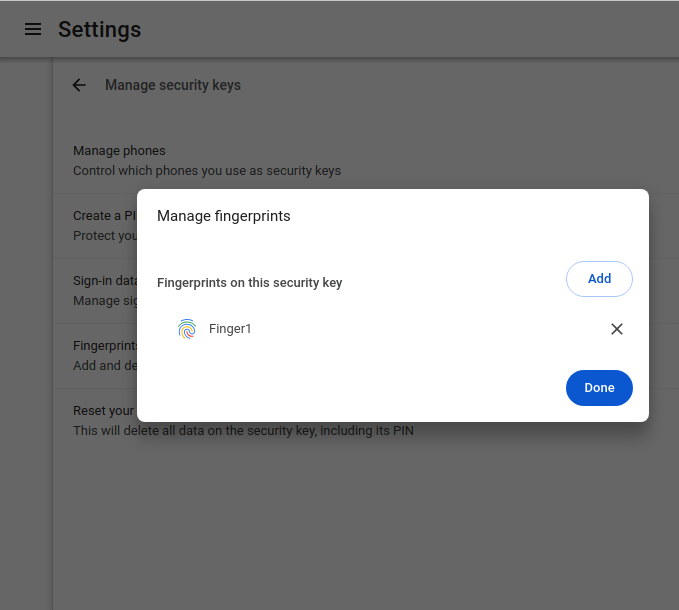
This procedure can be repeated for additional fingers enrolment.
Note: In some cases, the attempt can terminate on an Error when some conditions are not allowing to capture enough data to complete the finger’s mapping, due to following root causes:
Finger is presented several times in the exact same position
Finger is too dry or humid or not clean enough
Fingerprints is not enough detectable on the selected finger